Monday, September 23, 2013

Under Pressure

So it would seem (and by seem, I mean that it's totally true), that I like to procrastinate and work decently okay under pressure.  My previously mentioned friend who's getting married in a few weeks (3 weeks), asked me to be the hostess/greeter of her wedding.  She was kind enough to give me free reign to create my own dress. The two dresses that her brides maids are wearing are these.


My thought is to make something similar.  I found a pattern at JoAnn's, Burda Young 7388, that is carries some of the same style elements.

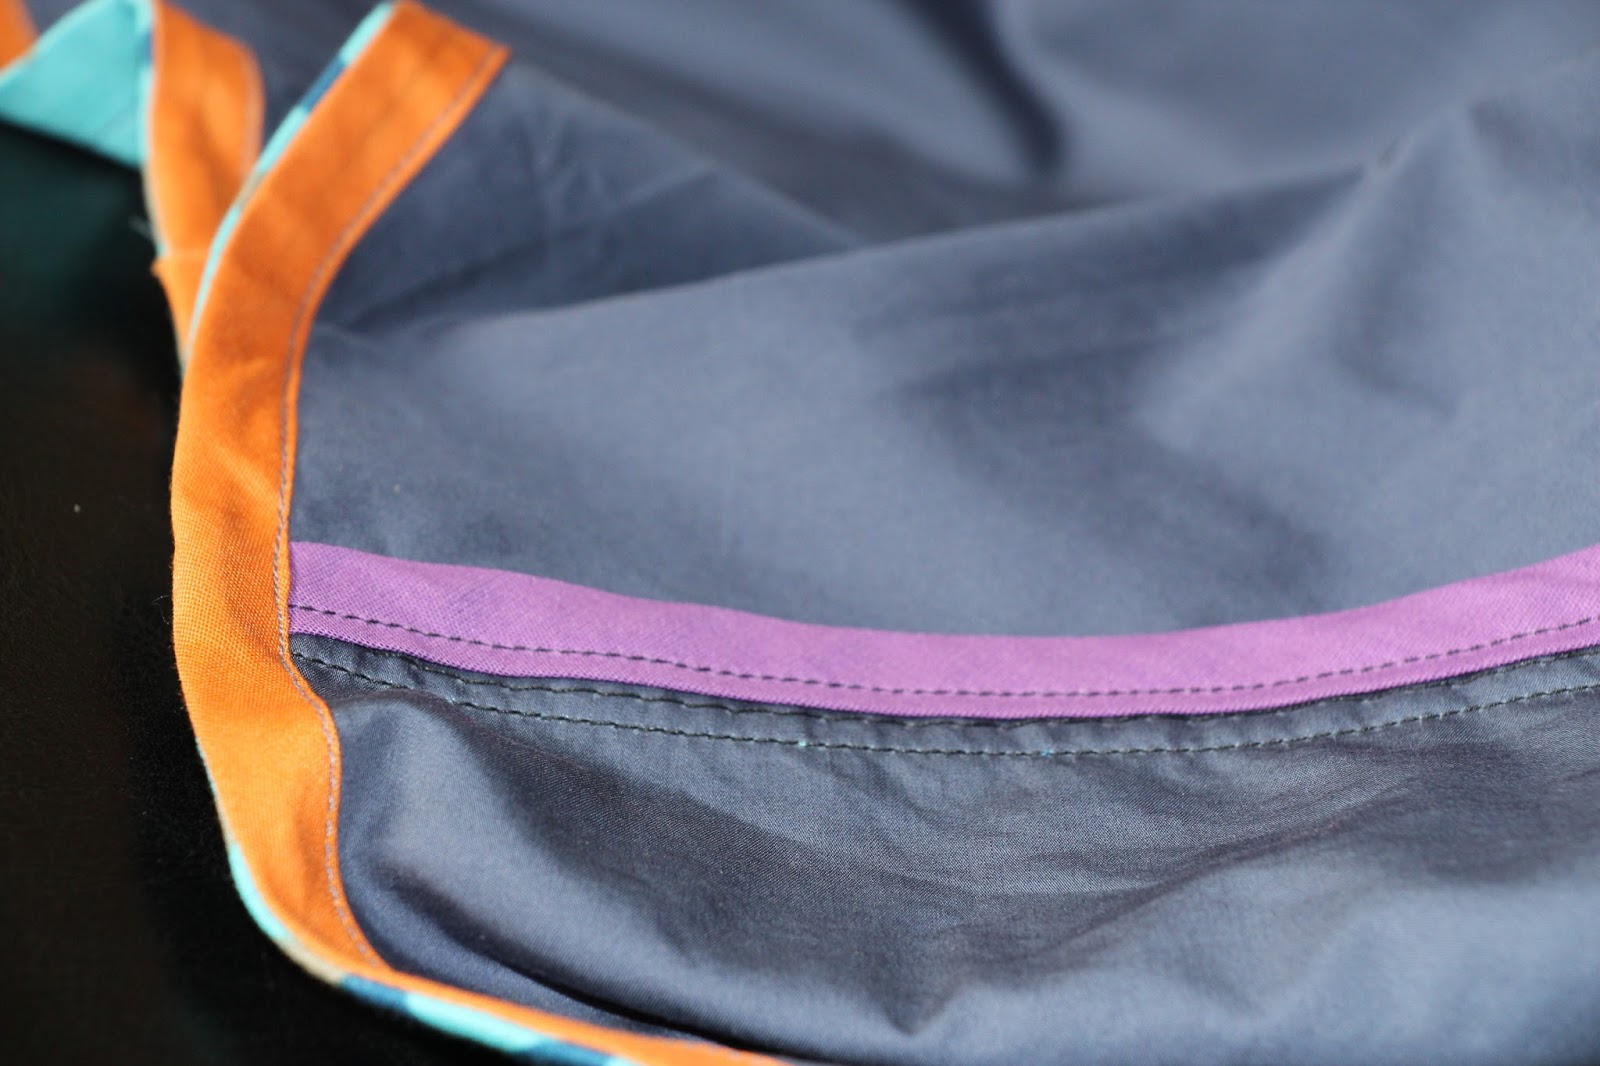
I'm going to do a mix of the two, a gathered sweetheart neckline bust but a flat waist and a gathered skirt.  The material is a dark blue silk dupioni from fabric.com and will be lined with a black polyester lining. I'm actually going to belt the dress with a blue African print fabric that I bought and I'm hoping it's not going to look like too much with the gathers and the belt. And I was thinking of piping the top of the neckline and the seams for the waist in the print fabric to tie everything together.

I haven't seen too many people make this dress up on the interwebs and the ones that do seem to run into some issues with the pattern pieces.  I'm going to muslin this up since this is the most expensive dress I've had to make since I started and take care of some fit issues in the bodice.  It's boned and I'm not too adept at it, only used it once, so we'll see what happens.  All in all, i'm excited and a bit worried.  Fabric should be here in a couple days and then it's off to the races!  I'll let you know how it all goes!

Saturday, September 14, 2013

Look Up! Laurel Blue

Earlier this year I picked up the Laurel dress from Colette Patterns. I had been in a sewing slump and figured that this simple dress with only 4 pattern pieces would be a quick fix to pull me out.

Six months and one non-related skirt later and I finally started and finished it. I started with a different fabric choice but ended up going with something a little lighter and more summery.  I picked up this fabric from Fabric Mart.  Its currently my favorite place to buy fabric online, I like how they drape the fabric to give you a sense of what you're buying.  My fabric knowledge isn't good enough to buy things on name alone.  I think this is a Marc Jacobs fabric that I found on sale.  It's really thin and drapes well and my attempt to make it out of one layer was quickly shot down by my common sense.  And I'm glad I listened, this fabric is SUPER thin for a non silky.  Ripping out stitches left holes that had to be coaxed out. I underlined the dress in another Fabric Mart find and left the sleeves without the lining to lighten it up.


Pattern-wise, it was indeed simple.  The things that took the most time were the hand stitching and making my own bias tape.  Woo hoo for my first time making bias tape.  I found this really great tutorial that I previously pinned on Pinterest on creating appx 5 yards from a fat quarter and i immediately jumped to it. It was pretty simple expect I got some of the measurements wrong which made it so that I couldn't pull it through my bias tape folder thing.  Which meant I had the pleasure of hand folding and ironing the entire strip (yay me).  Thank goodness for TV, Netflix and the first season of 24.

I enclosed all my seams with store-bought bias tape and overlooked the arm sleeves. One thing to mention was the way the sleeves were built.  The pattern indicated to make 3 rows of basting stitches along the top which we then pulled on to ease the sleeve into its arm hole.  I had never seen that before and I enjoyed the finished look with tiny gathers across the top.

Bias Tape binding:  The black is the center back seam, the orange is single fold tape along the hem. 

Bias Tape binding:  Purple Double Fold Bias tape binding along the side seams.


The only alteration I made to the dress was to add darts on the front.  I'm not used to super look fitting dresses, especially if they're not cotton.  I was prepared to make this a simple shift dress but after pinning the front, I liked it so much and couldn't NOT add the darts.  I left them open to create a sort of pleat, which was inspired by A Handmade Wardrobe. I haven't yet decoded if I'm going to iron the pleats in or just let them fall where they may but I would like to add some sort of visual interest in order "seal" the end of the dart.


All in all, I really enjoyed sewing this dress and I've already worn it once and I'll be sure to wear it again. I hope you enjoyed my selfies!  The light wasn't what I wanted it and I don't know my camera well enough to compensate for it yet, but I'm working on it. Continuous improvement!

Sunday, September 8, 2013

Bridal Showers

So, this post is in recognition of my failure as a budding blogger to take decent pictures of my creations.  I will do better.  But in the meantime, you will see terrible pictures of things that I created yesterday for a good friend of mine. She's getting married in a month and I'm uber happy for the current couple/soon-to-be-newlyweds.  

This is only the second bridal shower that I've been to and the first one that's been a female only affair.  In classic Renee fashion, I waited until the last minute to think of gift ideas and started brainstorming 3 days before the scheduled event.  Also, in true Renee fashion, everything worked out thereby continuing to enable her bad habits.  I wanted to create something personal, that would be remembered and that she could see and use everyday.  Those discounted the usual items that I THINK get given at bridal showers, such as lingerie.  Given these restrictions, I decided to consult with my dear friend, Pinterest.  Oh Pinterest, how I covet thee.  Thankfully, i have enough spare time (cough) to scroll through a forever scrolling webpage of ideas that pop up when I type in 'Bridal Shower'. They ranged from terrible involved to just not being right, but after xx amount of minutes hours, I was able to come up with 3 gifts that would amount to less than $50 in monetary value (i think, I didn't really do the math) and would take me less than 6 hours to do.  Since I would be starting these projects on Thursday, everything would work out fine.

Unfortunately, I was unable to procure one of the necessary items for gift number 1, but fortunately, gift number 1 was the most time consuming and was instead replaced by an equally good one (that got blessed by the groom) and was a hell of a lot simpler.  I still ended up making three items and they all turned out well, if I do say so myself. Presenting....

Gift #1


These magnets are of cities that they've been to together.  Zurich in Switzerland, Cancun in Mexico, St. George in Burmuda, Ponce in Puerto Rico, Cincinnatti, OH (where the Groom is from) and Manasas, VA (where the Bride is from).  I decided to do the cities because it's pretty easy to remember the countries you travel to, but a lot of times (at least for me), the cities are forgotten.  This way it will be a constant reminder/quiz of where they've been. As their travels increase, I'll possibly consider building on the collection. 

Gift #2


This picture frame lists famous couples in history and in story with the couple's names front and center.  I spray painted the frame purple as it's the Bride's favourite color and knew she would find a good place to put it.  I made sure to include some recognizable African couples as well though I didn't include as many as I would have liked. 


Gift #3


CC stand for Chris & Candace and i put their last name on it.  I played with just putting CJ as a universal nickname, but I felt as though the Groom has had that name for so long that people would automatically associate it with him.  The CC helps to establish their union along with sharing the last name.  The symbol on the right is an Ghanaian Adinkra symbol "Eban".  It is a fence which symbolizes "Love, Safety and Security".

This was the centerpeice.  I FINALLY used my Silhouette Cameo for good (and not pack rat evil).  I've had this thing for almost two years and prior to yesterday, had yet to put it to good use.  With the discovery that a $2 roll of contact paper from Big Lots is a cheap alternative to throwaway stencil material, I'm hoping that hurdle has been jumped and I'll continue to find good uses for it.  It was simple to use, a little tedious at the weeding out process, but intuitive and worked out well.  I still need to figure out how to properly import some images into the software but it worked out well.  

Gift #4

This was because I tend to go overboard, but I needed something to "wrap" the casserole dish in and this "Market Tote" at JoAnn Fabric's was 60% off so I grabbed it.  It folds up nicely and will definitely be put to good use. Note to self: always walk with JoAnn coupons in purse

All in all, it took me about 6 hours including shopping and travel time to complete all of these, and a good chunk of that time was trying to find the parts to the cutting machine and the remainder of my supplies that I KNOW I own but hadn't touched since I moved here. The Bride loved it and I LOVED seeing the expression on her face when she realized the thought that went into each of the gifts.  It's reactions like those that make me love what I do and inspire me to continue putting in the extra effort to make things that people will use and enjoy. 

Sunday, June 16, 2013

Ketchup & Mustard Hourglass Pencil Skirt

It's been a rough year creation wise for me.  I haven't felt inspired to follow through with any of the things on my sewing wish list.  But things are getting better.  Which is good.  My baby sister graduated from Wake Forest this past month and it was just the incentive that I needed to make my first garment for the year.  I went back to a pattern that I knew, a pencil skirt from Gertie's New Book for Better Sewing.  I already loved the first version that I made of this skirt, a simple black high-waisted in some sort of black polyester that looks great with a blouse tucked in for work.  The version I wanted to make this time however was more simple.  I wanted to use one of the African print fabrics that I've been stashing up but too scared to cut into.  I also didn't want to bone this version as it took some time last time and I wasn't exactly ready to try to perfect the mistakes that I made on the last one (the front panel doesn't exactly sit flat).

I picked up this light material in NY a year ago, it was the last fabric on the bolt and an impulse buy.  I cut this version shorter than the last and interlined it with black broadcloth to make it opaque.  I accidentally cut it a little too short so decided to use bias tape to finish the hem without losing length.  I'll have to make a decision in the future about the use of the back slit, the length of the skirt and the slit make for some interesting geometry. I finished the inside seams with bias tape as well, making the interior clean and not something I'm embarrassed to show anyone.


Tuesday, October 30, 2012

Car Caddy

I finished up a Car Caddy via Homemade By Jill.  The little boy that I made it for loved it and was excited for his cars to have a street to drive down.  It was cute to see him actually play house with the it, using the parking spots as a place to take a nap.  His dad liked it too. It was a nice portable way to carry a few cars on trips.

I used some denim from a pair of shorts that I gave up on making.  The applique fabric was some leftover of something from over 10 years ago (which of course I forgot to take a picture of).  It was actually already cut into quilting squares, but since I don't quilt, it's a good supply of scraps.  I bought the felt, paint, piping and webbing at JoAnn's.  I love it when I get 30% off my total purchase, you really can't beat their coupons and convenience. They're everywhere!


The pattern was simple, but if I were to make it again, I would make the road a little wider. If I had more time, I would thrown his name on there, and maybe a building and a tree or two.  But simple is better (less time, more blank slate for imagination) and this project was relatively quick and successful!


Black Wiggle Skirt

I guess this thing isn't entirely a wiggle skirt, but its close enough.  I used the pattern from Gertie's New Book for Better Sewing.  I must say, this is the first book I've bought that contained patterns and sewing techniques and it's great.  Plus, it's great to be able to look up in Gertie's blog for more explanations and pictures of things that weren't able to make it into the book. Like the boning on this waistband. It's the exact same skirt that she created in the book, which was perfect for me since that's what I was creating as well. I needed a simple black pencil skirt that I could wear to work as the other two I own are way too tight and short for that environment.


This material was a beast to cut and sew with due to its constant fraying.  The selvage mentions something about worsted polyester (no idea what that means), but its a material that I bought in Jamaica a couple years back and am just now getting to it.  I tried catching the side seams of the skirt material in bias tape, but the dang thing pulled completely off at the points when I got near the edge and just kept pulling.  I ended up pinking those seams and it seems to be holding up well enough, but I'm interested to see what's going to happen after I run it through the wash.

Material Selvage
Failed attempt to encase the seams

I went all out and boned and lined the thing and after a few headaches, it tuned out pretty good. After realizing that machine stitching wouldn't catch the whole waistband front, I hand stitched the lining into the waistband. It was surprisingly therapeutic. I also hand stitched the lining to the zipper, which involved hand acrobatics, but it looks neat and professional.  Here's a pic of the nice wide waistband.


I decided to forego the button and buttonhole. Partly because I was excited to wear it the next day and it was already past midnight, and partly because the fabric is a bit bulky and I didn't have a lot of space on the over flap due to a miscalculation so I used two hook and eye closures to keep the flap in place.


I think I'll do a nifty button and elastic loop in the future just to personalize it a little more.  And I added a ribbon to the lining to personalize it as well.  


And to finish the post off, here's a pic of me wearing the skirt!  I'm excited to play with the pattern again, I'll make the waistband a tad smaller next time, and I'm thinking about hemming this one a little above my knees, but all in all, it was a great first try!


Saturday, April 7, 2012

Welcome!

This is the blog where I will be documenting my craftiness, my green thumb and all around smartness.  My goal this year is to create more, to be a producer instead of a consumer so this will be one aspect of that.  I have a few sewing creations that I've completed over the past year or two so I'll catch you up on those later, just so you can see where I'm coming from.  But this year I will aim to create at least ONE thing per month, whether it be knitting, sewing, crafting, etc...

But what inspired me to come here (even though the actual blog was created almost a year ago, this is my first post), was a Dutch website that creates African Print cloth.  Let me start off by saying this, I support people looking at markets and deciding how to make their niche, however, I do wish that we could get a stronger presence of African companies selling African Print cloth.  I made a trip into NYC a month or so ago to buy cloth and although the store was bursting at the seams with cloth being sold by Indians,  the majority of the stuff there was manufactured by the Dutch.  This is a big market both inside and outside of the African Continent, and it'd be nice if someone on the continent could tap into that a lot better than what I see today.

That being said, I was directed to a website today that made me drool. It was love at first site.  One, because of the beautiful cloth.  Two, because of the great ways that they're using it and how they're inspiring me to use it.  Vlisco is the website and my goodness, they're expensive.  But I guess I shouldn't be surprised, "The Vlisco strategy is aimed at enabling well-to-do African women to experience the brand in all her facets..." I figure I'll buy some of this "ankara" fabric after I've gone through my stash and feel that my skillz are up to the expensive challenge.  Plus, I'll want to have a specific event in mind in which to wear the beautiful creation to.

So that's it for now.  I will continue to expand my crafty knowledge and I'll bring you all along for the ride.  Pics and such soon come!